
My husband and I went to Lowell’s the other day for some new light bulbs That is a simple enough errand, until I start walking around the warehouse dreaming of all the improvements I could do to my house if we had the money/time/knowledge, yada, yada yada. If it were only that easy.
I found myself in the kitchen area and longingly trying to figure out which back-splash would match my kitchen and wondering if I really could DIY. Not very likely, but I may give it a shot anyway.
I found myself speaking to a salesman and I am not sure how we even got into the subject, but I was talking about how I may need to buy all new pots and pans first before I try to add some upgrades to my kitchen.
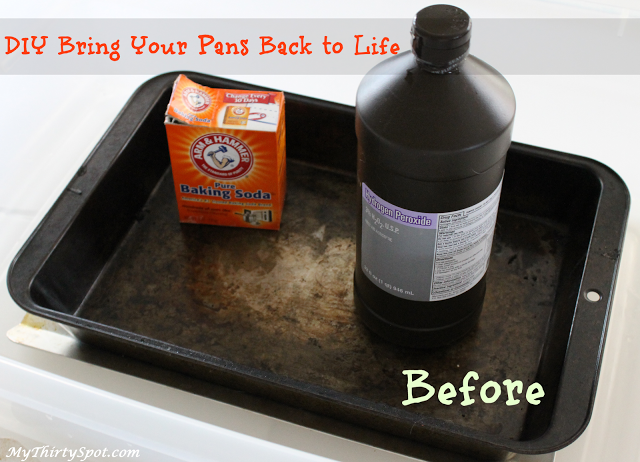
That is when he gave me some great advice and may have saved us some serious bucks. Now, we were just chatting away, so I didn’t get specifics, which I probably should have and it would have saved me a little time, but I just used a little trial and error. He told me that baking soda and hydrogen peroxide would do the trick to save my pans and get rid of all that baked on and burned on gunk.
I wanted to try this on one of my worst pans. I have not used this pan in a long time. It go to the point where I had it put away to give to Good Will, or just throw away. I’m glad that I kept it so I could really see if this worked. This pan was so bad that it was almost completely black.
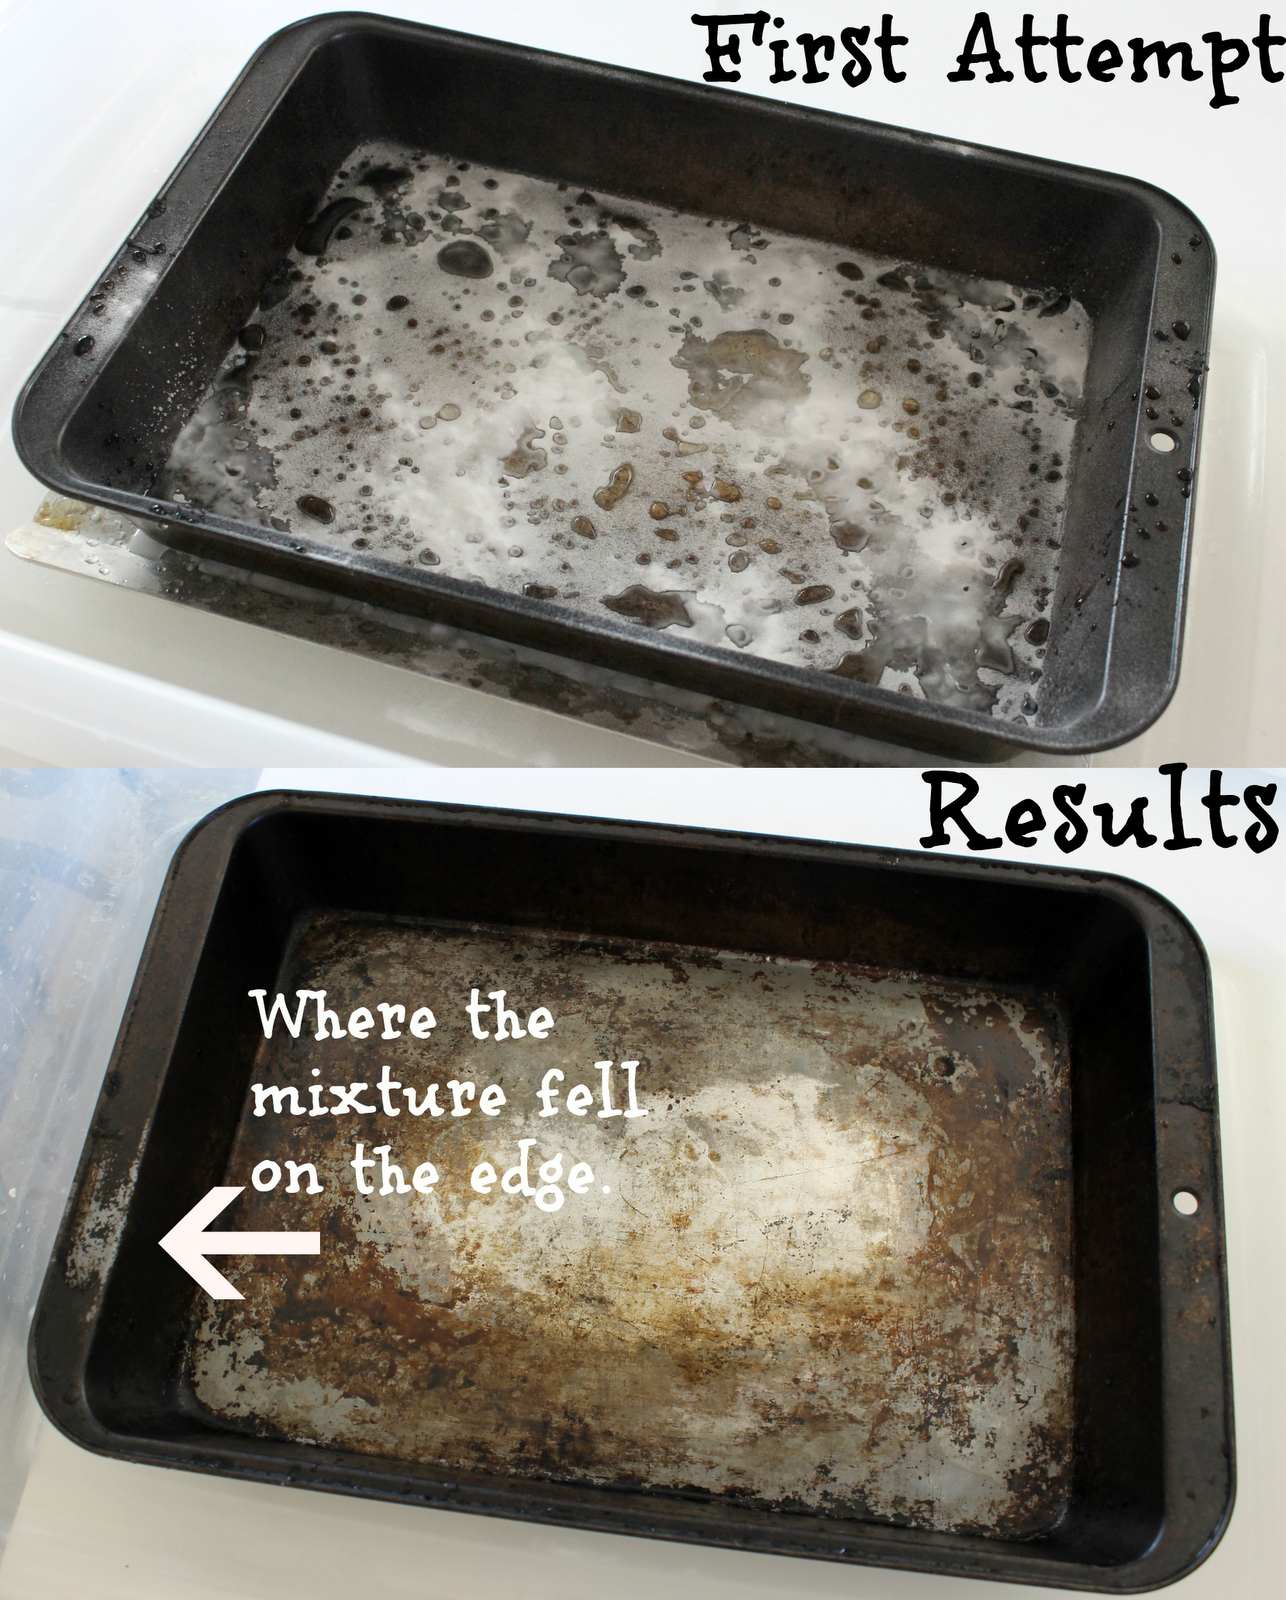
As you can see. This was my first attempt and I guess I really didn’t “get” how much of the baking soda and the peroxide to put on. I was pleased to see that by just spinkling some peroxide and baking soda did make a difference. You can see that just a little baking soda and peroxide made it on the end of the pan and it worked to remove some of the baked on gunk.
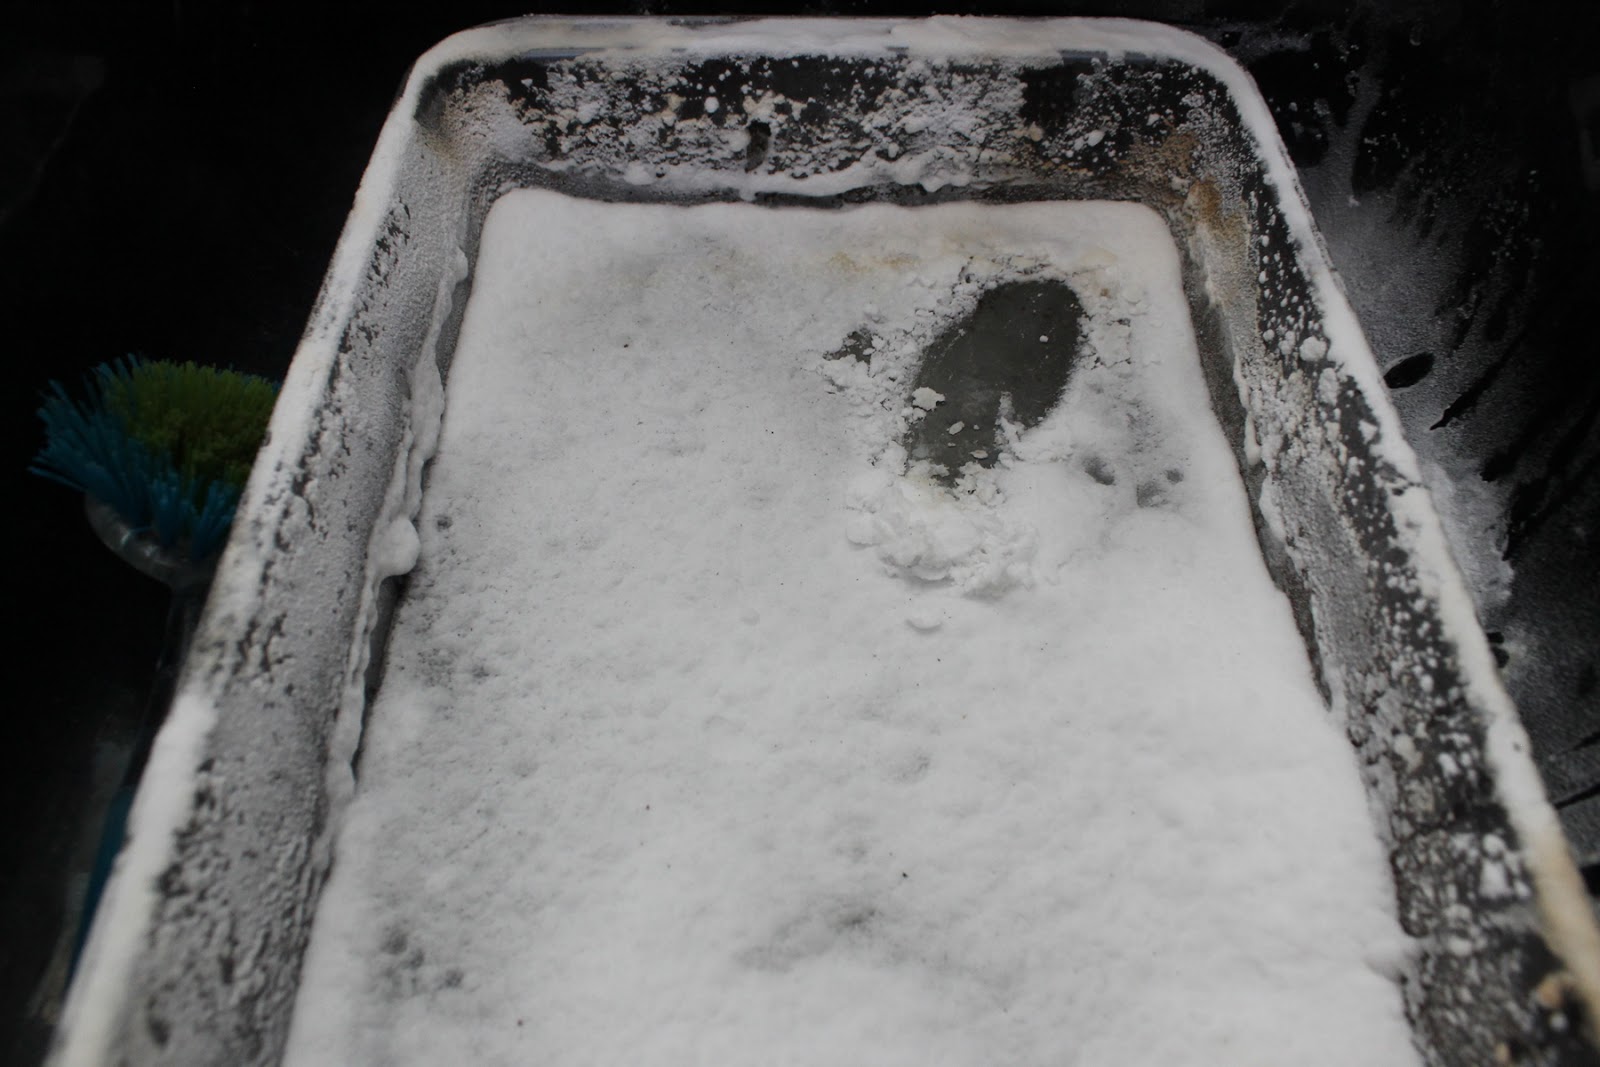
I finally figured out the best way to make this work and it is with a lot of baking soda. I poured a layer of baking soda on the pan, then saturated it with the hydrogen peroxide, then I poured a lot of baking soda on top. It looked like snow after it had bubbled up a little. I did this at least four times and let it sit overnight three of the four times. I also scrubbed the pan with a brush to help remove the caked on gunk.

I am more than pleased with the results. It did take me a few tries, and turned my sink into what looked like a science experiment, but it was absolutely worth it. My husband could not believe the difference either. It looks and feels almost like a brand new pan. I could probably do one more soak to get rid of the stubborn marks in the corner, but for what I have done, I am really impressed. Especially for what it looked like in the beginning. I am sure if your pan was not as bad as mine, it could get sparkling sooner and easier.

I have tossed away countless pans for this same reason. Thanks for sharing! I am definitely gonna give this a try!
I wonder if it works on my burnt saucepans too!? :)
I was just thinking of tossing one the other day due to the gunk on top. I will try this. Thanks so much!
this same mixture cleans grout also
I wonder if it works on glass too.
Hi Stacy,
I don’t see why not. My only concern is that I had to scrub the pan with each treatment, and it may scratch the glass. You could put the peroxide and baking soda on to sit and wipe off. It may or may not work. I would be interested. LMK
xo
I tried this out a favorite pan of mine and it worked beautifully! Thanks!!
http://rikasbrain.blogspot.com/2013/09/rachael-ray-pan-miracles.html
This is amazing !!!! I will give this a try too, thank you for sharing.
There is a typographical error just under the photo where you noted that you spilled some on the side of the pan.
The word “spinkling” should be written as sprinkling.